Photoshop Extension Tools
1 - Tool Development
The release of Adobes Creative Cloud suite back in 2013 brought with it support for HTML5 based extension panels and a new framework for building those extensions. The Common Extensibility Platform or CEP (previously known as CSXS) is that framework, shared among many of Adobes applications. But what does this mean for Photoshop tool possibilities? You can now use web technologies (HTML, JavaScript and CSS) along with ExtendScript to create fairly complex, user facing tools within Photoshop.
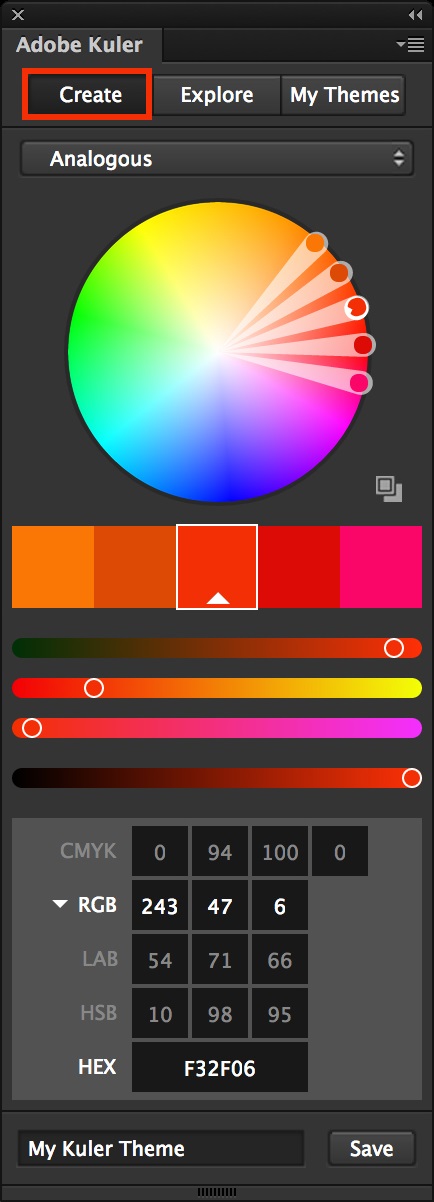
One particularly nice example is Adobes Kuler panel.
I’m going to be covering how I made extensions for Photoshop CC 2014, as this is what I’ve been supporting at work… so if there’s any differences with CEP or ExtendScript (Photoshop’s Javascript-alike scripting language) from 2015 onwards I’ve not had cause to encounter them yet! I’m also going to be covering it backwards, starting with deploying the extension first. While this probably sounds odd, it will make iterating on tools much smoother if you already have a system for deploying them and reloading code changes.
Packaging
According to Adobes “Short Guide to HTML Extensions” once your extension has been developed you’ll want to sign and package it for deployment. This involves using a command line tool to create a self-signed certificate, then packaging your extension to the .zxp format. You should then use Adobes Extension Manager to install the ZXP like any normal extension.
I don’t want to rely on artists re-installing my extension every time I put out a new version for the studio! So we’re not going to do any of that…
UPDATE: 7/2015 - It seems Adobe are now retiring their Extension Manager, without any serious replacement as far as I can tell. So us being able to bypass this and still deploy extensions is now even more relevant than before.
As it turns out, Photoshop can run extensions from loose files, so there is absolutely no need to zip them up into a ZXP at all. (in fact, Extension Manager will basically just unzip your ZXP when it installs it anyway… so why bother!) So we can scratch that off our to-do list. But do we still need to self-sign our extensions? Well… no, at least not for internal studio use. For Photoshop to run unsigned extensions you just need to add a registry key on the machine it’s running on. You will have to do this for development too otherwise it would be neccessary to re-sign your extension each time you make a code change.
So, first add the following key to the Windows registry:
[HKEY_CURRENT_USER\Software\Adobe\CSXS.5] "PlayerDebugMode"="1"
(if you’re on Mac the equivalent can be found in Adobes guide)
Deploying
As far as I can tell there is no way to set additional locations for Photoshop to load extensions from, they always load from one of the shared framework folders:
C:\Program Files (x86)\Common Files\Adobe\CEP\extensions\...%APPDATA%\Adobe\CEP\extensions
Instead of actually developing our extension at this location, we’re going to use a symlink to create a file-system folder that actually points to our preferred development location. That way we can develop or deploy Photoshop tools to a custom location and have them linked directly to where Photoshop will look for extensions to load. So, at the command line …
mklink /J "C:\Program Files (x86)\Common Files\Adobe\CEP\extensions\com.my_tool.example" "D:\ToolsDev\Photoshop\com.my_tool.example"
… and now we can simply work in our “D:\ToolsDev\Photoshop\com.my_tool.example” location.
Comments